- The reason why we wrote a script to compile MacPorts
- Compile MacPorts (the manual way)
- Uninstall MacPorts (the manual way)
- Compile MacPorts (interactive script)
- MacPorts vs Homebrew
The MacPorts Project is an open-source community initiative that allows you to compile and install open source software, which was originally built for Linux and other UNIX-based systems - so it runs natively on macOS.
We use MacPorts to install Free and Open-Source Software (FOSS) and essential command-line tools that aren't readily available on macOS. These tools help us break free from the lock-in effects of expensive software ecosystems like Adobe Creative Cloud and Microsoft 365, while also helping to strengthen our digital security and protect our online privacy.
THE REASON WHY WE WROTE A SCRIPT TO COMPILE MACPORTS
Yes, you can of course install the required prerequisites, download the MacPorts installer, run it—and MacPorts should work on your computer without any issues. If you just want to install MacPorts, you can follow the official guide by The MacPorts Project on their website. All the necessary information is provided there.
However, sometimes when a new version of macOS is released, there may not yet be a compatible installer available on the MacPorts website. In such cases, you’ll need to compile MacPorts from source, or it simply won’t work.
This is exactly what happened to one of our friends. He wanted to use MacPorts to install ffmpeg as a free and open-source alternative to Adobe Media Encoder, right after upgrading to macOS Ventura. He had never used the command line before, and found it too difficult to follow the official Git-based installation instructions on the MacPorts site.
So, we created an installation script to guide others through the process in a simpler way.
If you’d like to learn how to install MacPorts manually, follow the section below.
Otherwise, feel free to skip ahead and use our automated installation script in the next chapter.
COMPILE MACPORTS
the manual way
PREREQUISITES
Xcode is Apple's integrated development environment for building software on macOS, iOS, iPadOS, watchOS, and tvOS. MacPorts depends on several tools that come bundled with Xcode, which is why it requires both Xcode and the Xcode Command Line Tools to be installed on your system.
Please install Xcode from the Apple App Store before continuing with this tutorial. Alternatively, if you're running an older version of macOS, you can download the required versions of both Xcode and the Command Line Tools from the Apple Developer Website
Keep in mind that this may take a while — Xcode is a large software package that requires about 23 GB of disk space. So take a break, make yourself a coffee, and let your Mac do the heavy lifting while it installs Xcode!
Follow this step-by-step guide if you want to compile MacPorts manually. If you prefer a faster and easier way to set it up, you can skip ahead and use our scripted solution instead: Compile MacPorts (interactive script)
Then open Terminal.app (found with Spotlight: press ⌘ and [SPACE], then type Terminal, or find it in your Applications → Utilities folder) and execute the following command to install the Xcode Command Line Tools:
sudo xcode-select --installSet the path for the active developer directory:
sudo xcode-select -s /Applications/Xcode.app/Contents/DeveloperTo agree to the Xcode license (EULA), either open Xcode once manually or run the following command:
sudo xcodebuild -license acceptRun the Xcode FirstLaunch command:
sudo xcodebuild -runFirstLaunchCOMPILE MACPORTS
MacPorts is FOSS. The code is published and updated regularly on Github. We will use this Git repository to compile MacPorts from source.
For the following steps, you need to have superuser privileges:
sudo suI) Check out MacPorts Source
First, create a directory for the MacPorts source:
mkdir -p /opt/mportsChange into this directory:
cd /opt/mportsClone the current MacPorts Git repository. This will create the folder /opt/mports/macports-base and populate it with everything needed to compile:
git clone https://github.com/macports/macports-base.gitChange into this directory:
cd /opt/mports/macports-baseExecute the following three commands to check out the latest stable MacPorts release:
# Find the latest release tagcurl --silent "https://api.github.com/repos/macports/macports-base/releases/latest" | grep '"tag_name":' | cut -d : -f 2,3 | sed 's/[ ",]//g' > .release# Check out latest release taggit checkout $(cat .release)# Cleanuprm .releaseII) Build and Install MacPorts
MacPorts uses autoconf and makefiles for installation. It will be installed to /opt/local.
The following command checks whether all necessary tools and libraries are available. It will inform you if there are any critical errors:
./configure --enable-readlineThis command will tell the compiler to compile the code, install the required external libraries and create the MacPorts executables:
makeNext, this command moves all necessary files to the appropriate system directories:
sudo make installCleanup build artifacts:
make distcleanNow you have successfully compiled and installed MacPorts from source.
Exit your superuser shell:
exitIII) Add MacPorts Executables to Paths
Your system needs to know where the MacPorts executables are stored so you can run them easily from the command line.
Create your ZSH shell configuration file (if it doesn't already exist):
touch -a ~/.zshrcInsert the MacPorts path into this file:
echo 'export PATH="/opt/local/bin:/opt/local/sbin:$PATH"' >> ~/.zshrcReload your ZSH shell configuration file:
source ~/.zshrcIV) Use MacPorts
MacPorts is a command-line utility. Check the official MacPorts Manual for all available commands.
Before installing any software with MacPorts, update the port tree:
sudo port -v selfupdateNow you can install additional software. For example, to install ffmpeg:
sudo port install ffmpegUpdate all installed ports (libraries, software, etc.):
sudo port -puN upgrade outdatedUninstall inactive ports and clean up unused installations:
sudo port uninstall inactivesudo port uninstall leavesWe recommend updating and uncluttering your MacPorts installation regularly.
In the following section, we’ll show you how to set up a LaunchDaemon that automates updates and basic maintenance tasks on a regular basis.
EXTRA: SETUP AUTOMATIC UPDATER
In this step, we’ll create a LaunchDaemon that runs a script containing the required MacPorts commands 5 minutes after every reboot. Any error messages will be written to temporary log files, which are overwritten with each reboot. This way, you can always check for issues that occurred during the last automated update.
In our setup, we use the Shared folder to store custom scripts. The location for the MacPorts Updater Script is:
- /Users/Shared/Enhancements/macports_updater
If you want to use a different location, make sure to update the path in the LaunchDaemon accordingly.
Create the necessary folders:
mkdir /Users/Shared/Enhancementsmkdir /Users/Shared/Enhancements/macports_updaterConfigure folder ownership:
sudo chown $(stat -f '%Su' /dev/console):wheel /Users/Shared/EnhancementsNavigate to the MacPorts Updater Folder:
cd /Users/Shared/Enhancements/macports_updaterCreate the log files:
touch macports.err.log && touch macports.out.logOpen your command-line editor to create the update script:
sudo nano macports_updater.shPaste the following content:
#!/bin/bash

date +'%d/%m/%Y %H:%M:%S' > /Users/Shared/Enhancements/macports_updater/macports.out.log
echo ' ' >> /Users/Shared/Enhancements/macports_updater/macports.out.log
date +'%d/%m/%Y %H:%M:%S' > /Users/Shared/Enhancements/macports_updater/macports.err.log
echo ' ' >> /Users/Shared/Enhancements/macports_updater/macports.err.log
bash -c '/opt/local/bin/port selfupdate ; /opt/local/bin/port -puN upgrade outdated ; /opt/local/bin/port uninstall inactive ; /opt/local/bin/port uninstall leaves'
Press [control] + X and then Y + [ENTER] to save the file and close the editor.
Setup ownership and permissions:
# Ownership shell scriptsudo chown root:wheel macports_updater.sh# Ownership log filessudo chown $(stat -f '%Su' /dev/console):admin macports.err.log macports.out.log# Permissions shell scriptsudo chmod 744 macports_updater.sh# Permissions log filessudo chmod 644 macports.err.log macports.out.logNext you want to setup the LaunchDaemon that runs the updater.
Create the LaunchDaemon file:
sudo nano /Library/LaunchDaemons/info.term7.macports.updaterPaste the following content:
<?xml version="1.0" encoding="UTF-8"?>
<!DOCTYPE plist PUBLIC "-//Apple//DTD PLIST 1.0//EN" "http://www.apple.com/DTDs/PropertyList-1.0.dtd">
<plist version="1.0">
<dict>
    <key>Label</key>
    <string>info.term7.macports.updater</string>
    <key>LaunchOnlyOnce</key>
    <true/>
    <key>ProgramArguments</key>
    <array>
        <string>/Users/Shared/Enhancements/macports_updater/macports_updater.sh</string>
    </array>
    <key>StandardOutPath</key>
    <string>/Users/Shared/Enhancements/macports_updater/macports.out.log</string>
    <key>StandardErrorPath</key>
    <string>/Users/Shared/Enhancements/macports_updater/macports.err.log</string>
    <key>StartInterval</key>
    <integer>300</integer>
</dict>
</plist>
Press [control] + X and then Y + [ENTER] to save the file and close the editor.
Setup the required ownership and permissions:
# Ownershipsudo chown root:wheel info.term7.macports.updater.plist# Permissionssudo chmod 644 info.term7.macports.updater.plistYou can start the LaunchDaemon manually, or simply reboot your computer:
sudo launchctl bootstrap system info.term7.macports.updater.plistCongratulations — your automated MacPorts updater is now up and running! After about five minutes, you should see your previously empty log files start to fill with content. This confirms that the updater script was triggered successfully and MacPorts is performing its maintenance tasks as intended.
UNINSTALL MACPORTS
the manual way
Maybe you want to start from scratch—or maybe you simply want to remove MacPorts and delete all related files and traces from your system.
To clean your system thoroughly, follow these steps:
1) Delete all installed Ports:
sudo port -fp uninstall installed2) Delete the MacPorts user account and group:
sudo dscl . -delete /Users/macportssudo dscl . -delete /Groups/macports3) Take ownership of former MacPorts folders and files:
sudo chown -R root:admin /opt/local4)
Unload MacPorts updater:
sudo launchctl bootout system /Library/LaunchDaemons/info.term7.macports.updater.plist5) Delete all files and folders related to MacPorts:
sudo rm -rf \
    /opt/local \
    /opt/mports \
    /Applications/DarwinPorts \
    /Applications/MacPorts \
    /Users/Shared/Enhancements/macports_updater \
    /Library/LaunchDaemons/org.macports.* \
    /Library/LaunchDaemons/info.term7.macports.updater.* \
    /Library/Receipts/DarwinPorts*.pkg \
    /Library/Receipts/MacPorts*.pkg \
    /Library/StartupItems/DarwinPortsStartup \
    /Library/Tcl/darwinports1.0 \
    /Library/Tcl/macports1.0 \
    ~/.macports
MacPorts has now been fully purged from your system.
Unless you plan to install MacPorts again or need it for other development work, you may also want to delete Xcode to free up disk space.
COMPILE MACPORTS
interactive script
Our installation script for MacPorts is an interactive tool that guides you through compiling MacPorts from source. It can also set up a system service that updates MacPorts on a regular basis.
Essentially, this script automates everything we've outlined in the previous section of this tutorial—making the entire process faster, easier, and less error-prone.
We also provide an automatic uninstall script that will completely remove MacPorts and all related files and folders from your system.
BE CAREFUL: YOU SHOULD ALWAYS LOOK THROUGH THE CONTENT OF ANY SHELL SCRIPT YOU DOWNLOAD FROM AN UNKNOWN SOURCE BEFORE YOU EXECUTE IT! MAKE SURE IT IS SAFE TO EXECUTE!
WE HOST OUR SCRIPTS FOR EVERYONE TO SEE ON CODEBERG.
To run our script, you first have to download it. Open the Terminal.app (found with Spotlight: press ⌘ and [SPACE], then type Terminal, or find it in your Applications -> Utilities Folder). In your Terminal, use this command to navigate to your Downloads Folder:
cd ~/DownloadsDownload the interactive script:
# Interactive Scriptcurl -O https://codeberg.org/term7/MacOS-Privacy-and-Security-Enhancements/raw/branch/main/03_MacPorts/install_MacPorts.shIf you ever want to uninstall MacPorts, our MacPorts Updater and all related files and folders, download our uninstall script too:
# Uninstall Scriptcurl -O https://codeberg.org/term7/MacOS-Privacy-and-Security-Enhancements/raw/branch/main/03_MacPorts/UNINSTALL_MacPorts.shGive the respective file execute permissions:
chmod +x *MacPorts.shExecute the respective script:
./install_MacPorts.sh./UNINSTALL_MacPorts.shIf asked, enter your administrator password and hit [ENTER] and follow the instructions. Your password won't be shown by default.
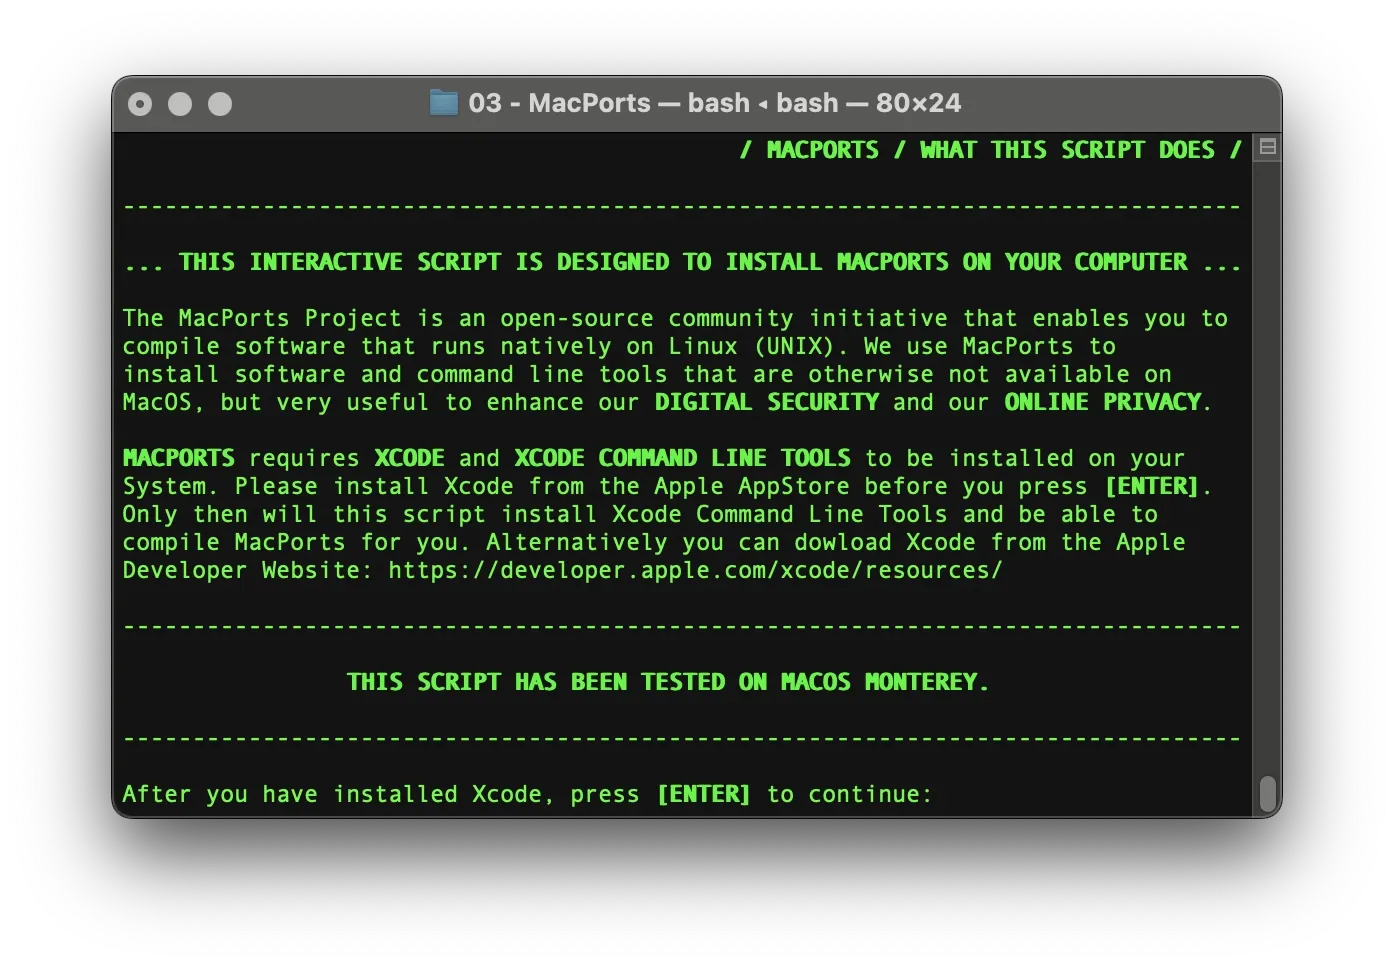
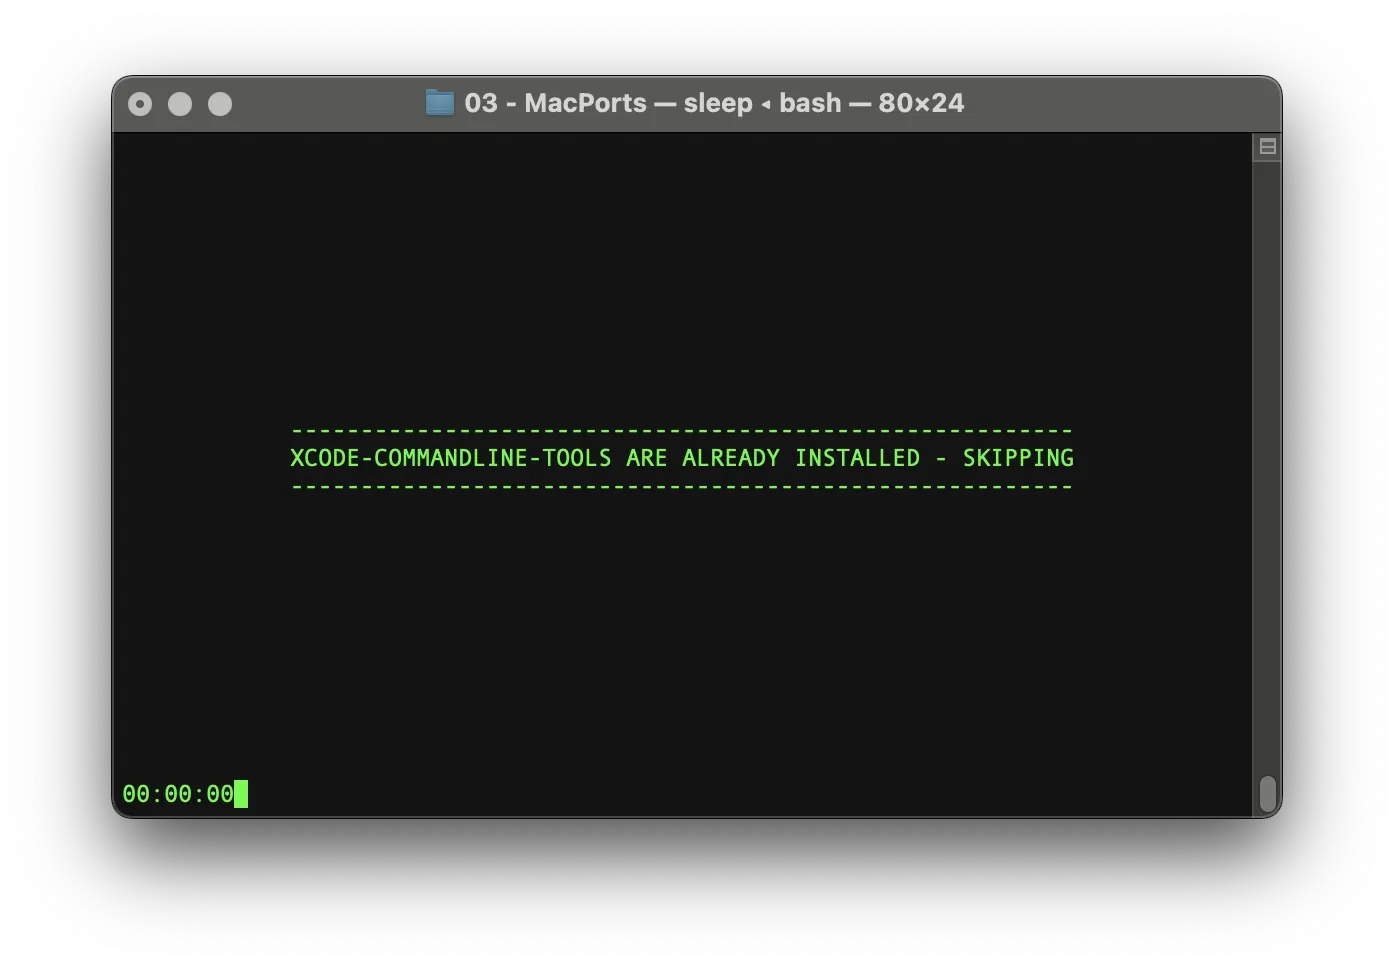
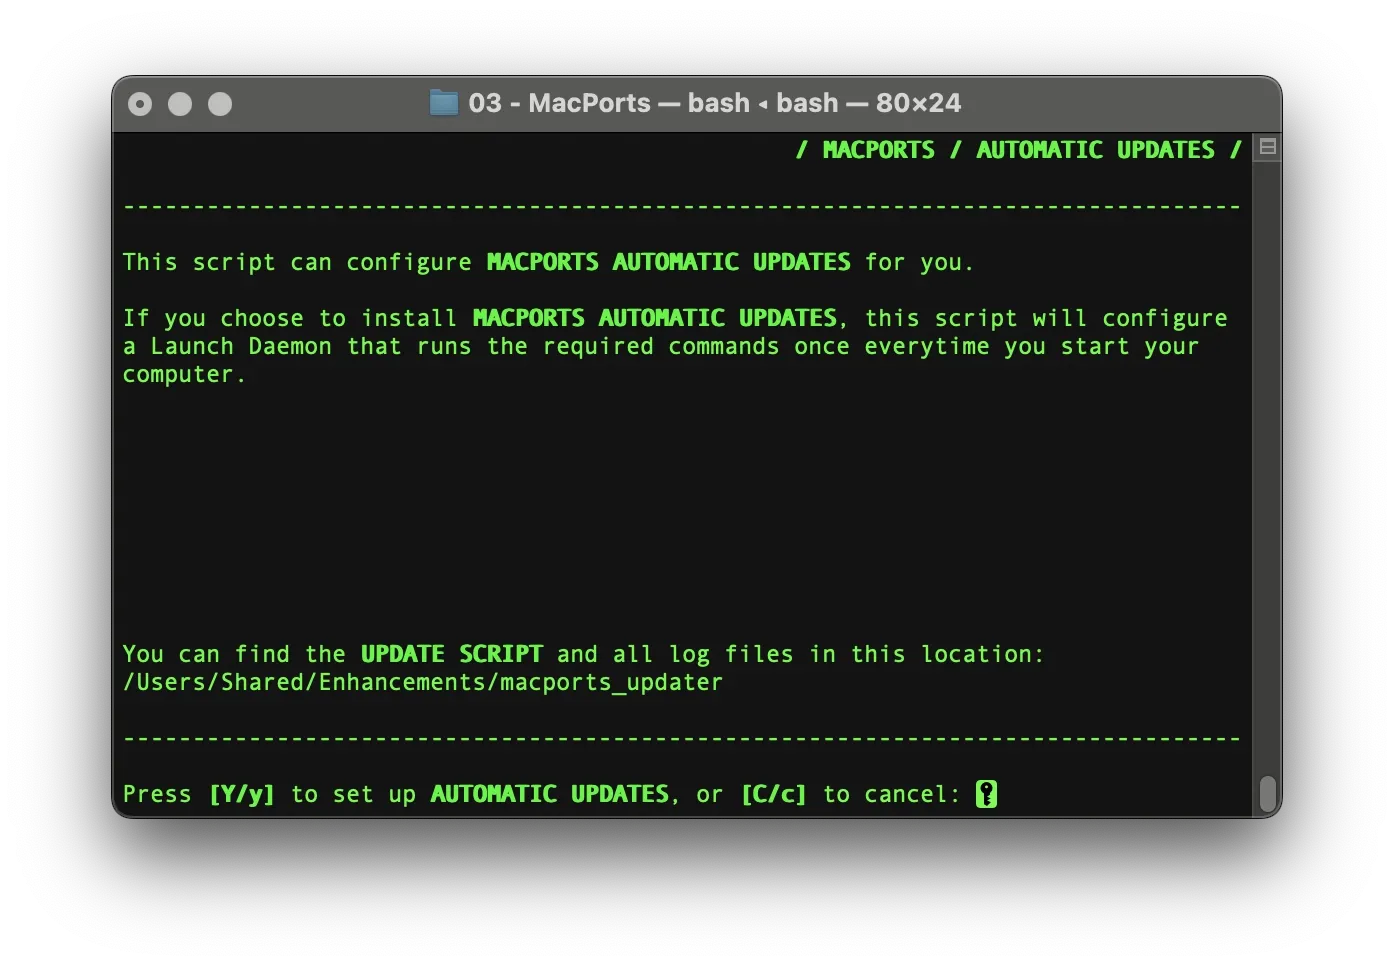
PREVIEW:

MACPORTS vs HOMEBREW
Another popular package manager for Mac users is Homebrew. While Homebrew is generally easier to use and often faster during installation, we prefer MacPorts, and here's why:
Homebrew relies more heavily on macOS's existing system libraries. This makes installations faster, since many packages are pre-compiled and ready to use. However, this tight integration with macOS can also lead to compatibility issues after system updates or upgrades, causing previously working packages to break.
MacPorts, by contrast, maintains its own set of libraries in a separate directory structure. This makes it more independent from macOS, which results in greater stability, especially after major macOS changes. The tradeoff is that packages in MacPorts are typically compiled from source on your machine, making installations slower and sometimes more complex.
Despite the slower setup, we believe MacPorts is the safer long-term choice, particularly for users who want consistent and reliable tools that won’t break with every macOS update.
Our main repository on Codeberg:

Github Mirror:

Additional Resources: