Siri is Apple’s voice control system. It uses voice queries and a natural language interface to answer questions, provide recommendations, and perform actions on your behalf. To do this, Siri sends requests to various internet services.
In the past, Apple was caught sending Siri recordings to third-party contractors, who listened to snippets of voice requests and conversations, allegedly for the purpose of improving Siri’s voice recognition capabilities. This practice was not disclosed to users and only came to light through leaked information. It represented a serious invasion of customer privacy.
Apple has since claimed to have ended this practice. While the company now acknowledges that voice commands were previously processed on external Apple servers, it insists that these recordings were never linked to users' Apple IDs. However, we have no way to independently verify this claim. Apple’s software is closed-source, and access to its servers and internal data structures is restricted. What we do know is that until recently, voice commands were not processed locally, but instead sent over the internet to remote servers.
In 2021, Apple announced a shift in its approach: Siri would no longer send audio recordings to Apple’s servers. Instead, voice commands would be processed locally on the user’s device.
Despite this, Siri still uses machine learning and behavioral data to improve itself. Even if audio is no longer transmitted, other forms of user data, such as music preferences and Spotlight search activity, are still sent to Apple by default. According to Apple, this data is encrypted, anonymized, and not tied to a specific Apple ID. Yet, once again, we are expected to take this on trust.
Since Apple’s ecosystem remains closed to public audit, there is no way to independently confirm the full extent of what is collected or how it is used.
You can review Apple’s official statements for more details here:
Privacy Policy and Terms of Service.
Disable Siri
System Settings
Disabling Siri in macOS: The Standard Way
It should be easy to disable Siri in macOS—and for most users, the simplest way is through System Settings. Here’s how:
- Open System Settings and go to Siri & Spotlight.
- Untick “Ask Siri” to disable voice activation.
- Click on Siri Suggestions & Privacy.
- Go through each app listed and disable every option that allows Siri to show suggestions or learn from that app.
- When you're done, scroll down within Siri & Spotlight to the Spotlight section.
- Make sure “Siri Suggestions” is also unticked here.
This disables Siri’s most visible and interactive features.
Alternatively you could also run the required commands in your Terminal.app (found with Spotlight: press ⌘ and [SPACE], then type Terminal, or find it in your Applications -> Utilities Folder).
To opt out from Siri data collection, execute this command:
# Opt-out from Siri data collectiondefaults write com.apple.assistant.support 'Siri Data Sharing Opt-In Status' -int 2To disable Ask Siri, execute:
# Disable 'Ask Siri'defaults write com.apple.assistant.support 'Assistant Enabled' -bool falseDisable Siri voice feedback:
# Disable Siri voice feedbackdefaults write com.apple.assistant.backedup 'Use device speaker for TTS' -int 3Disable Do you want to enable Siri? pop-up:
# Disable 'Do you want to enable Siri?' pop-updefaults write com.apple.SetupAssistant 'DidSeeSiriSetup' -bool TrueHide Siri from menu bar:
# Hide Siri from menu bardefaults write com.apple.Siri 'StatusMenuVisible' -bool false
defaults write com.apple.Siri 'UserHasDeclinedEnable' -bool true
Disable Siri services (Siri and assistantd - which is a Siri helper process). These commands used to work in older versions of macOS, yet not anymore (SIP):
# Disable Siri services (Siri and assistantd)launchctl disable "user/$UID/com.apple.assistantd"
launchctl disable "gui/$UID/com.apple.assistantd"
sudo launchctl disable 'system/com.apple.assistantd'
launchctl disable "user/$UID/com.apple.Siri.agent"
launchctl disable "gui/$UID/com.apple.Siri.agent"
sudo launchctl disable 'system/com.apple.Siri.agent'
In theory, these steps should be enough to disable Siri on your computer. However, if you open Activity Monitor after disabling Siri (press ⌘ + [SPACE], then type Activity Monitor), and search for “siri” or “assistantd”, you’ll likely still see some Siri-related processes running in the background.
This behavior has been observed even after rebooting the system, and has been tested on the following macOS versions:
- macOS Monterey 12.5.1
- macOS Ventura 13.0.1
- macOS Sonoma 14.5
- macOS Sequoia 15.3.2
Depending on your macOS version, the set of running Siri processes may vary:
- com.apple.siri.embeddedspeech
- com.apple.SiriTTSService.TrialProxy
- com.apple.siri-distributed-evaluation
- siriactionsd
- sirittsd
- SiriAUSP
- SiriTTSSynthesizerAU
- siriknowledged
- siriinferenced
- assistantd
The reason you still see Siri processes running is that Apple does not allow you to fully disable Siri unless you also disable macOS's System Integrity Protection (SIP).
Since macOS Big Sur, Siri has been tightly integrated into the core of the operating system, which is protected by SIP. In other words:
- To truly disable Siri, you must first disable SIP,
- Then manually disable Siri and remove its related processes,
- And most importantly, keep SIP disabled permanently.
However, disabling SIP compromises your system's security, leaving your Mac more vulnerable to external threats and malicious software.
If you re-enable SIP at any point, Siri will be reactivated automatically—regardless of your system settings.
We’ve tested this extensively. No matter what combination of preferences and settings you use, Siri cannot be completely disabled while SIP is active.
Kill Siri: Manual Setup
Siri Killswitch with SIP enabled
We want the security benefits of macOS’s System Integrity Protection (SIP) - but we don’t want Siri. Unfortunately, despite trying every method available, we couldn’t find a way to fully disable Siri and its related processes while keeping SIP enabled.
That limitation is frustrating, so we created a workaround.
The idea is simple: detect and immediately kill Siri (and any related processes) the moment they're re-spawned by the system.
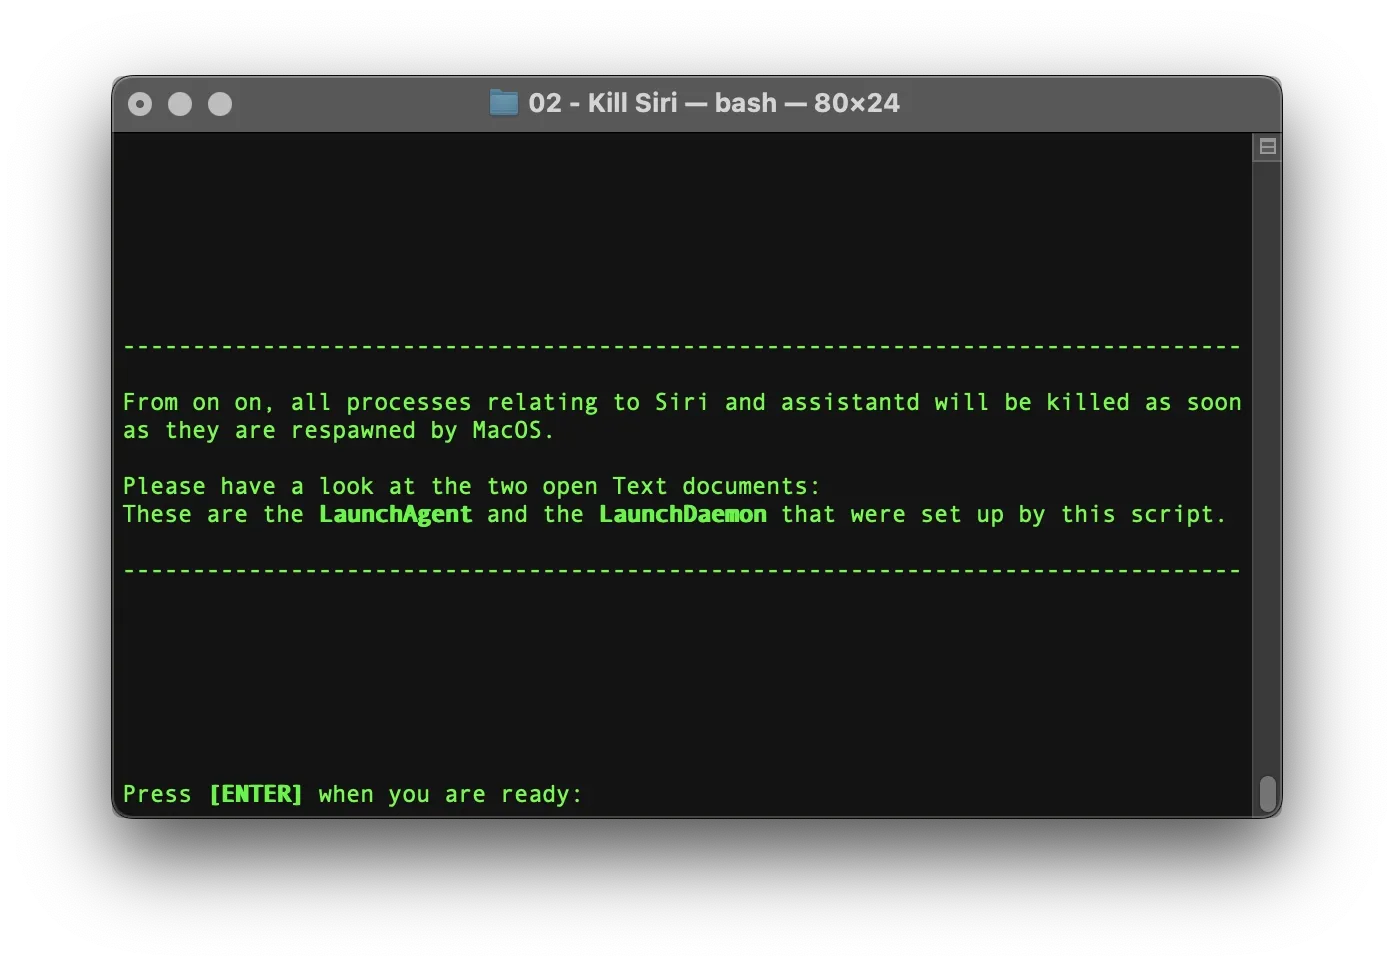
If you're in the same boat, follow this step-by-step guide to set up a LaunchAgent and LaunchDaemon that act as a Siri Killswitch on macOS.
Prefer a quicker, automated setup? Use our ready-to-run solution: Kill Siri: Interactive Script
CONCEPT:
We've observed that whenever Siri or assistantd becomes active, they create or modify files within the ~/Library/Assistant/ directory. This folder is created by the system for every new user account, making it a reliable point of detection. Any changes here can serve as a trigger to identify when Siri has become active, allowing us to immediately locate and terminate its associated processes.
To monitor this folder, we need to deploy a LaunchAgent running with local user privileges. However, since some Siri processes are launched with superuser privileges, a global LaunchDaemon is also required to successfully terminate those higher-privileged processes.
This dual setup, using both a LaunchAgent and a LaunchDaemon, is essential:
- The LaunchAgent has the necessary permissions to monitor and interact with user-specific folders like ~/Library/Assistant/.
- The LaunchDaemon, running with elevated privileges, is capable of terminating system-level Siri processes.
Additionally, the LaunchAgent is responsible for deleting any files and folders Siri creates in ~/Library/Assistant/. This forces Siri to regenerate them each time it becomes active, increasing the reliability of our detection mechanism.
However, there's a challenge: the LaunchDaemon cannot directly monitor user-specific folders due to macOS permission constraints. Therefore, the LaunchAgent must notify the LaunchDaemon whenever it detects Siri activity.
To solve this communication gap, we use a shared location accessible to all users and processes: /Users/Shared/. This folder serves as a neutral trigger point:
- The LaunchAgent writes a trigger file to /Users/Shared/ when Siri activity is detected in ~/Library/Assistant/.
- The LaunchDaemon continuously monitors this shared location for the trigger.
- Once the trigger is activated, the LaunchDaemon immediately terminates the newly spawned Siri processes and the LaunchAgent deletes Siri-related files and folders.
By combining user-level monitoring with system-level execution, this setup ensures that Siri is consistently and reliably shut down whenever it attempts to run.
1) SETUP SHARED TRIGGER LOCATION:
We’ll start by creating a folder that both the LaunchAgent and LaunchDaemon can access. This will serve as the communication trigger between the two:
mkdir -p /Users/Shared/Enhancements/kill_siri/triggerNow, we need to ensure the trigger folder is accessible to both user-level and system-level processes. This requires adjusting the ownership and permissions accordingly:
# Ownershipsudo chown $(stat -f '%Su' /dev/console):wheel /Users/Shared/Enhancements# Ownershipsudo chown $(stat -f '%Su' /dev/console):staff /Users/Shared/Enhancements/kill_siri/trigger# Permissionssudo chmod 775 /Users/Shared/Enhancements/kill_siri/trigger2) CREATE KILL SCRIPT & LAUNCHDAEMON:
Quick Summary: The global LaunchDaemon monitors the shared trigger location. When this location is modified by the LaunchAgent, the LaunchDaemon responds by scanning for a predefined list of Siri-related processes and executing a script to terminate them.
To terminate a process via the command line, we first need to know what we’re looking for. Using Activity Monitor, we identified the following Siri-related processes after attempting to disable Siri through System Settings:
- com.apple.siri.embeddedspeech
- com.apple.SiriTTSService.TrialProxy
- siriactionsd
- sirittsd
- SiriAUSP
- SiriTTSSynthesizerAU
- siriknowledged
- siriinferenced
- assistantd
For example, the following command checks if assistantd is currently running, and if so, attempts to terminate it:
sh -c "if pgrep assistantd; then kill -9 $(pgrep assistantd); fi;"Since Apple occasionally introduces new Siri-related processes, we’ll use a script that’s easy to maintain and update over time. This script will be executed by the LaunchDaemon whenever the trigger is activated.
Open a command-line editor, i.e. nano, to create the script file:
sudo nano /Users/Shared/Enhancements/kill_siri/kill_siri.shInsert the following content into the file:
#!/bin/bash

LOGFILE="/Users/Shared/Enhancements/kill_siri/kill_siri.log"
mkdir -p "$(dirname "$LOGFILE")"
touch "$LOGFILE"
chmod 666 "$LOGFILE"

log() {
  echo "$(date): $1" >> "$LOGFILE"
}

run_and_log() {
  CMD="$1"
  log "Running: $CMD"
  OUTPUT=$(eval "$CMD" 2>&1)
  EXITCODE=$?
  log "Exit code: $EXITCODE"
  if [ -n "$OUTPUT" ]; then
    log "Output: $OUTPUT"
  fi
  return $EXITCODE
}

echo "$(date): ===== KILL SIRI =====" > "$LOGFILE"

# List of Siri-related processes to kill
PROCS=(
  SiriAUSP
  siriinferenced
  siriactionsd
  siriknowledged
  sirittsd
  SiriTTSSynthesizerAU
  assistantd
  com.apple.siri.embeddedspeech
  com.apple.SiriTTSService.TrialProxy
  com.apple.siri-distributed-evaluation
)

# Kill matching processes and log each kill
for proc in "${PROCS[@]}"; do
  if /usr/bin/pgrep "$proc" >/dev/null; then
    run_and_log "/usr/bin/pkill -9 $proc"
    log "Killed $proc"
  fi
done
Press [control] + X and then Y + [ENTER] to save the file and close the editor.
This script will also generate a log file, recording every Siri-related process it attempts to kill. The log is saved to: /Users/Shared/Enhancements/kill_siri/kill_siri.log
Make the script executable:
sudo chmod +x /Users/Shared/Enhancements/kill_siri/kill_siri.shNow we’ll create a LaunchDaemon that watches the shared trigger folder and runs the kill script when it detects changes:
sudo nano /Library/LaunchDaemons/info.term7.killall.siri.plistCopy and paste the following lines:
<?xml version="1.0" encoding="UTF-8"?>
<!DOCTYPE plist PUBLIC "-//Apple//DTD PLIST 1.0//EN" "http://www.apple.com/DTDs/PropertyList-1.0.dtd">
<plist version="1.0">
<dict>
    <key>Label</key>
    <string>info.term7.killall.siri</string>

    <key>ProgramArguments</key>
    <array>
        <string>/Users/Shared/Enhancements/kill_siri/kill_siri.sh</string>
    </array>

    <key>WatchPaths</key>
    <array>
        <string>/Users/Shared/Enhancements/kill_siri/trigger</string>
    </array>
</dict>
</plist>
Press [control] + X and then Y + [ENTER] to save the file and close the editor.
macOS LaunchDaemons and LaunchAgents follow a specific XML-based structure. While we won’t go into full detail in this post (maybe in a future one), here are the key elements you should know for this setup:
- Label – A unique identifier for the LaunchDaemon.
- ProgramArguments – The exact command or script to execute.
- WatchPaths – A file or folder path to monitor; when it changes, the daemon is triggered.
After creating the .plist file, macOS requires that we set the correct ownership and permissions for it to be recognized and allowed to run.
# Ownershipsudo chown root:wheel /Library/LaunchDaemons/info.term7.killall.siri.plist# Permissionssudo chmod 644 /Library/LaunchDaemons/info.term7.killall.siri.plistCREATE CLEANUP SCRIPT & LAUNCHAGENT:
Quick Summary:
The LaunchAgent monitors changes in the ~/Library/Assistant/ folder. Whenever Siri or any related process modifies this location, the LaunchAgent:
- Triggers the global LaunchDaemon by modifying a file in the shared trigger location at:
/Users/Shared/Enhancements/kill_siri/trigger - Instructs the LaunchDaemon to kill Siri immediately.
- Cleans up all Siri-related content from ~/Library/Assistant/ to prevent Siri from caching data or restoring its state.
This dual-action approach ensures both proactive termination and persistent cleanup, making the Killswitch much more effective.
We will use these commands modify and delete a file in /Users/Shared/Enhacements/trigger:
# Modify triggertouch /Users/Shared/Enhancements/kill_siri/trigger/.trigger# Delete triggerrm /Users/Shared/Enhancements/kill_siri/trigger/.triggerAnd this command will delete the log file that is always created when assistantd starts:
rm -f -- ~/Library/Assistant/assistantdDidLaunchWe’ve identified several files and folders that are consistently created by Siri-related processes. Our LaunchAgent needs to delete these items whenever Siri becomes active:
- ~/Library/Assistant/SiriAnalytics.db
- ~/Library/Assistant/assistantdDidLaunch
- ~/Library/Assistant/session_did_finish_timestamp
- ~/Library/Assistant/SiriVocabulary
- ~/Library/Assistant/CustomVocabulary
- ~/Library/Assistant/SiriReferenceResolution
Note:
The file SiriVocabulary is protected by System Integrity Protection (SIP) and cannot be modified or deleted by LaunchAgents. However, we will address this later using a manual workaround.
For now, let’s create a helper script that deletes the remaining files and folders whenever the LaunchAgent detects a change:
sudo nano /Users/Shared/Enhancements/kill_siri/kill_siri-helper.shThen insert the script contents:
#!/bin/bash

export USER=$(stat -f '%Su' /dev/console)
export HOME="/Users/$USER"

LOGFILE="/Users/Shared/Enhancements/kill_siri/kill_siri.log"
mkdir -p "$(dirname "$LOGFILE")"

log() {
  echo "$(date): $1" >> "$LOGFILE"
}

run_and_log() {
  CMD="$1"
  log "Running: $CMD"
  OUTPUT=$(eval "$CMD" 2>&1)
  EXITCODE=$?
  log "Exit code: $EXITCODE"
  if [ -n "$OUTPUT" ]; then
    log "Output: $OUTPUT"
  fi
  return $EXITCODE
}

log "===== CLEANUP ====="

# Trigger the LaunchDaemon by touching then removing the trigger file
touch /Users/Shared/Enhancements/kill_siri/trigger/.trigger
rm /Users/Shared/Enhancements/kill_siri/trigger/.trigger 2>/dev/null

# Files and folders to delete
FILES=(
  "$HOME/Library/Assistant/SiriAnalytics.db"
  "$HOME/Library/Assistant/SiriAnalytics.db-shm"
  "$HOME/Library/Assistant/SiriAnalytics.db-wal"
  "$HOME/Library/Assistant/session_did_finish_timestamp"
  "$HOME/Library/Assistant/assistantdDidLaunch"
  "$HOME/Library/Assistant/.DS_Store"
)

FOLDERS=(
# "$HOME/Library/Assistant/SiriVocabulary" -> PROTECTED BY SIP
#  LAUNCHAGENT CANNOT DELETE THIS FOLDER // we implemented a workaround in installation the scripts!
  "$HOME/Library/Assistant/CustomVocabulary"
  "$HOME/Library/Assistant/SiriReferenceResolution"
)

# Remove files and log deletions or errors
for file in "${FILES[@]}"; do
  if [ -f "$file" ]; then
    if run_and_log "rm -f -- '$file'"; then
      log "Deleted file: $file"
    else
      log "Error deleting file: $file"
    fi
  fi
done

# Remove folders and log deletions or errors
for folder in "${FOLDERS[@]}"; do
  if [ -d "$folder" ]; then
    if run_and_log "rm -rf -- '$folder'"; then
      log "Deleted folder: $folder"
    else
      log "Error deleting folder: $folder"
    fi
  fi
done

log "===== CLEANUP COMPLETE ====="
Press [control] + X and then Y + [ENTER] to save the file and close the editor.
Now, make the script executable by running:
sudo chmod +x /Users/Shared/Enhancements/kill_siri/kill_siri-helper.shOpen a command-line editor to create the LaunchAgent file:
sudo nano /Library/LaunchAgents/info.term7.killall.siri.helper.plist
hen copy and paste the following configuration into the file:
<?xml version="1.0" encoding="UTF-8"?>
<!DOCTYPE plist PUBLIC "-//Apple//DTD PLIST 1.0//EN" "http://www.apple.com/DTDs/PropertyList-1.0.dtd">
<plist version="1.0">
<dict>
    <key>Label</key>
    <string>info.term7.killall.siri.helper</string>

    <key>ProgramArguments</key>
    <array>
        <string>/Users/Shared/Enhancements/kill_siri/kill_siri-helper.sh</string>
    </array>

    <key>WatchPaths</key>
    <array>
        <string>~/Library/Assistant</string>
    </array>
</dict>
</plist>
Press [control] + X and then Y + [ENTER] to save the file and close the editor.
Again we specify a Label (the name of our LaunchAgent), ProgramArguments (the commands that need to be executed) and WatchPaths (the location that needs to be monitored for changes).
Again, in this LaunchAgent configuration, we specify:
- Label – the unique name of our LaunchAgent
- ProgramArguments – the command or script that should be executed
- WatchPaths – the folder to be monitored for changes (in this case, ~/Library/Assistant/)
These keys are essential for telling macOS when to run the script and what to run.
After saving the .plist file, macOS requires the correct ownership and permissions for the LaunchAgent to function properly:
# Ownershipsudo chown root:wheel /Library/LaunchAgents/info.term7.killall.siri.helper.plist# Permissionssudo chmod 644 /Library/LaunchAgents/info.term7.killall.siri.helper.plistNow that everything is set up, activate the LaunchDaemon and the LaunchAgent with the following commands:
# Start LaunchAgentsudo -u "$(stat -f '%Su' /dev/console)" launchctl bootstrap "gui/$(stat -f '%u' /dev/console)" /Library/LaunchAgents/info.term7.killall.siri.helper.plist# Start LaunchDaemonsudo launchctl bootstrap system /Library/LaunchDaemons/info.term7.killall.siri.plistThe folder SiriVocabulary is protected by System Integrity Protection (SIP), which prevents our LaunchAgent from modifying or deleting it automatically. However, we can manually lock Siri out of this folder using a simple workaround:
- Delete the existing SiriVocabulary file or folder
- Recreate it as an empty folder with the same name
- Lock the folder to prevent Siri from modifying it
# Delete SiriVocabulary:
sudo -u $(stat -f '%Su' /dev/console) rm -rf /Users/$(stat -f '%Su' /dev/console)/Library/Assistant/SiriVocabulary
# Create empty SiriVocabulary
sudo -u $(stat -f '%Su' /dev/console) mkdir /Users/$(stat -f '%Su' /dev/console)/Library/Assistant/SiriVocabulary
# Lock SiriVocabulary
sudo -u $(stat -f '%Su' /dev/console) chflags uchg /Users/$(stat -f '%Su' /dev/console)/Library/Assistant/SiriVocabulary
This effectively blocks Siri from storing data in that location again.
Congratulations! Your Siri Killswitch is now active. It will automatically run every time you restart your computer and log its latest activity to kill_siri.log in the setup folder.
Kill Siri: Uninstall Killswitch
the manual way...
1) Unload the LaunchAgent and the LaunchDaemon:
# Unload LaunchAgent
sudo -u $(stat -f '%Su' /dev/console) launchctl unload /Library/LaunchAgents/info.term7.killall.siri.helper.plist
# Unload LaunchDemon
sudo launchctl unload /Library/LaunchDaemons/info.term7.killall.siri.plist2) Delete the LaunchAgent and the LaunchDaemon:
# Delete LaunchAgent
sudo rm /Library/LaunchAgents/info.term7.killall.siri.helper.plist
# Delete LaunchDemon
sudo rm /Library/LaunchDaemons/info.term7.killall.siri.plist3) Delete related files and folders:
# Delete Files & Folders:
sudo -u $(stat -f '%Su' /dev/console) rm -rf /Users/Shared/Enhancements/kill_siri
4) Unlock and delete SiriVocabulary (so that Siri can re-create it):
# Unlock SiriVocabulary:
sudo -u $(stat -f '%Su' /dev/console) chflags nouchg /Users/$(stat -f '%Su' /dev/console)/Library/Assistant/SiriVocabulary
# Delete SiriVocabulary:
sudo -u $(stat -f '%Su' /dev/console) rm -rf /Users/$(stat -f '%Su' /dev/console)/Library/Assistant/SiriVocabulary
Your Siri Killswitch has now been purged from your system.
Kill Siri: Interactive Script
Siri Killswitch with SIP enabled
Both our interactive script and speedy install script set up a local LaunchAgent that runs automatically whenever a user logs into their macOS account. This agent monitors a specific folder location that is consistently modified by Siri-related processes.
In addition, the script configures a global LaunchDaemon that listens for triggers from the LaunchAgent. As soon as any Siri-related activity is detected, the daemon immediately terminates all associated processes.
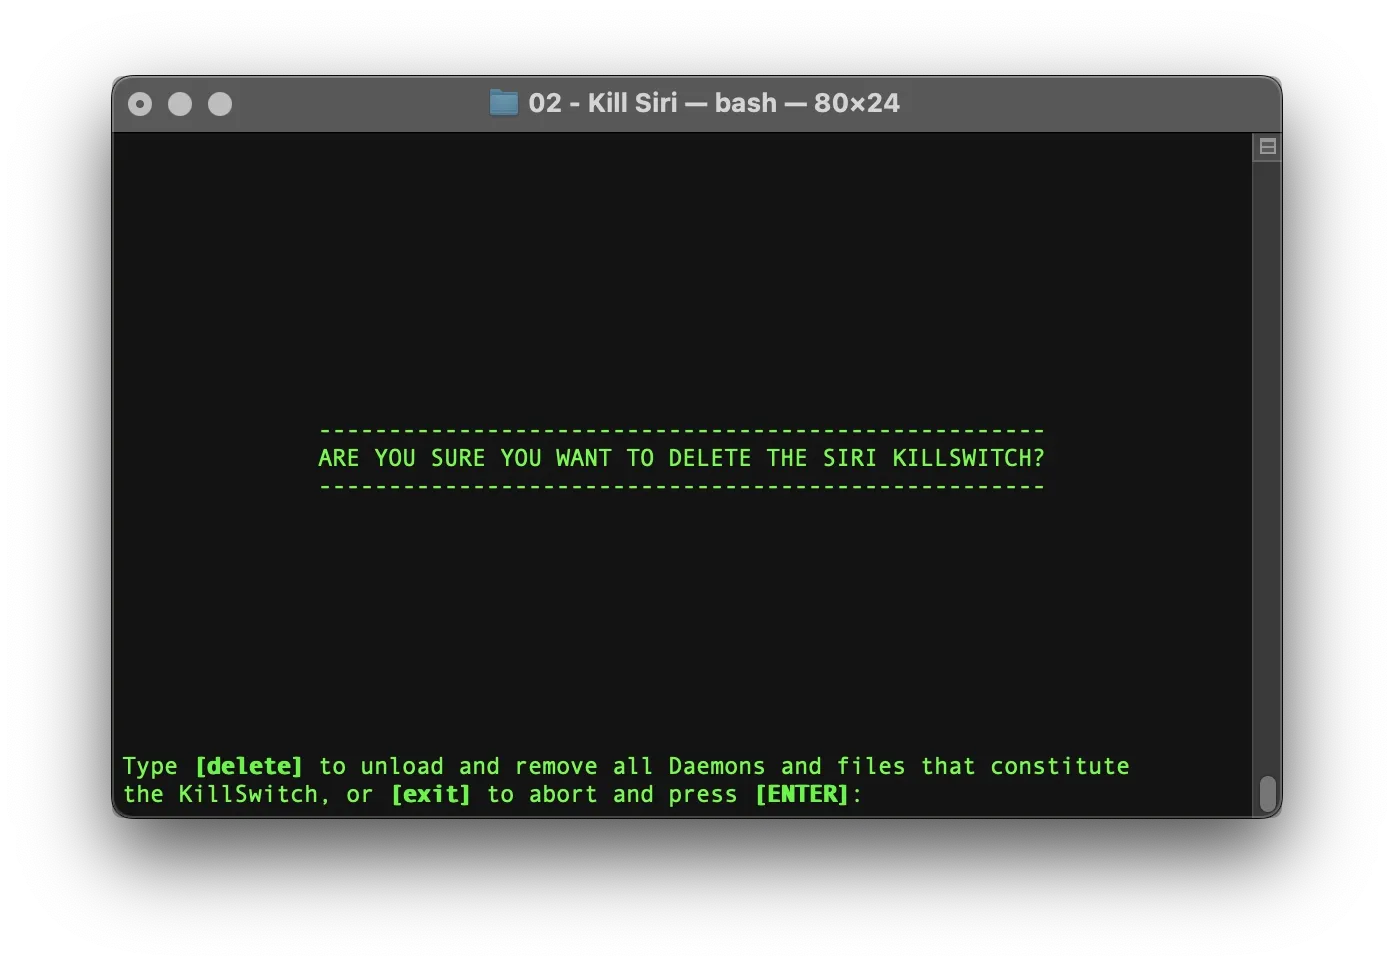
For convenience, we also include a simple uninstall script that cleanly removes all components of the Siri Killswitch, restoring your system to its original state.
BE CAREFUL: YOU SHOULD ALWAYS LOOK THROUGH THE CONTENT OF ANY SHELL SCRIPT YOU DOWNLOAD FROM AN UNKNOWN SOURCE BEFORE YOU EXECUTE IT! MAKE SURE IT IS SAFE TO EXECUTE!
WE HOST OUR SCRIPTS FOR EVERYONE TO SEE ON CODEBERG.
To run our script, you first have to download it: Open the Terminal.app (found with Spotlight: press ⌘ and [SPACE], then type Terminal, or find it in your Applications -> Utilities Folder). In your Terminal, use this command to navigate to your Downloads Folder:
cd ~/DownloadsDownload the interactive script:
# Interactive Scriptcurl -O https://codeberg.org/term7/MacOS-Privacy-and-Security-Enhancements/raw/branch/main/02_Kill-Siri/script/install_kill-siri.shDownload the speedy install script:
# Speedy Install Scriptcurl -O https://codeberg.org/term7/MacOS-Privacy-and-Security-Enhancements/raw/branch/main/02_Kill-Siri/script/SPEEDY-INSTALL_kill-siri.shIf you ever want to uninstall the Siri killswitch, download our uninstall script:
# Uninstall Scriptcurl -O https://codeberg.org/term7/MacOS-Privacy-and-Security-Enhancements/raw/branch/main/02_Kill-Siri/script/UNINSTALL_kill-siri.shGive the respective file execute permissions:
chmod +x *kill-siri.shExecute the respective script:
./install_kill-siri.sh./SPEEDY-INSTALL_kill-siri.sh./UNINSTALL_kill-siri.shIf asked, enter your administrator password and hit [ENTER] and follow the instructions. Your password won't be shown by default.
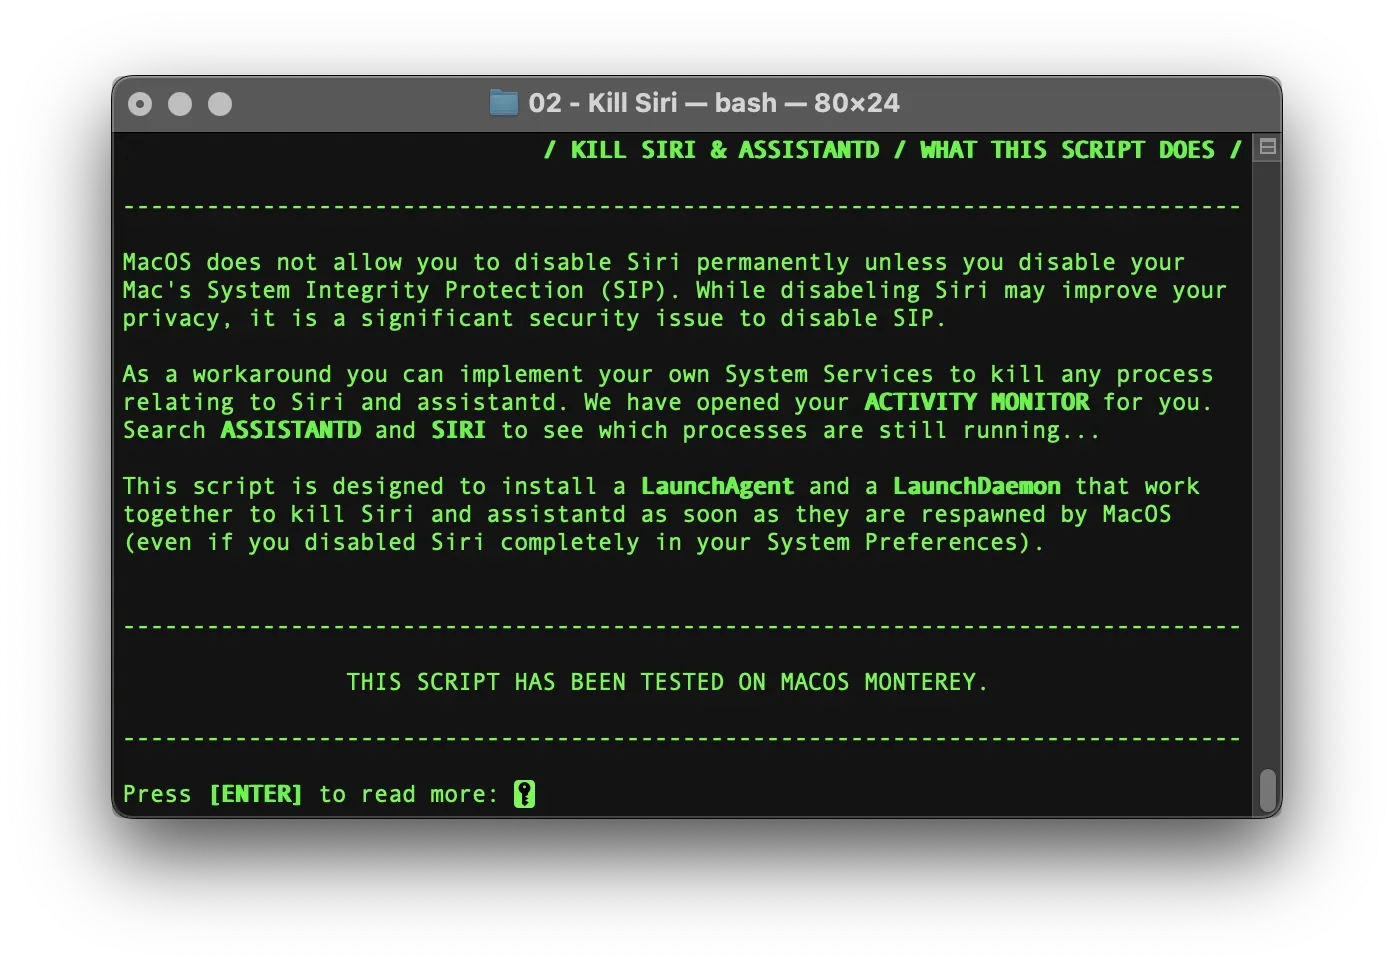
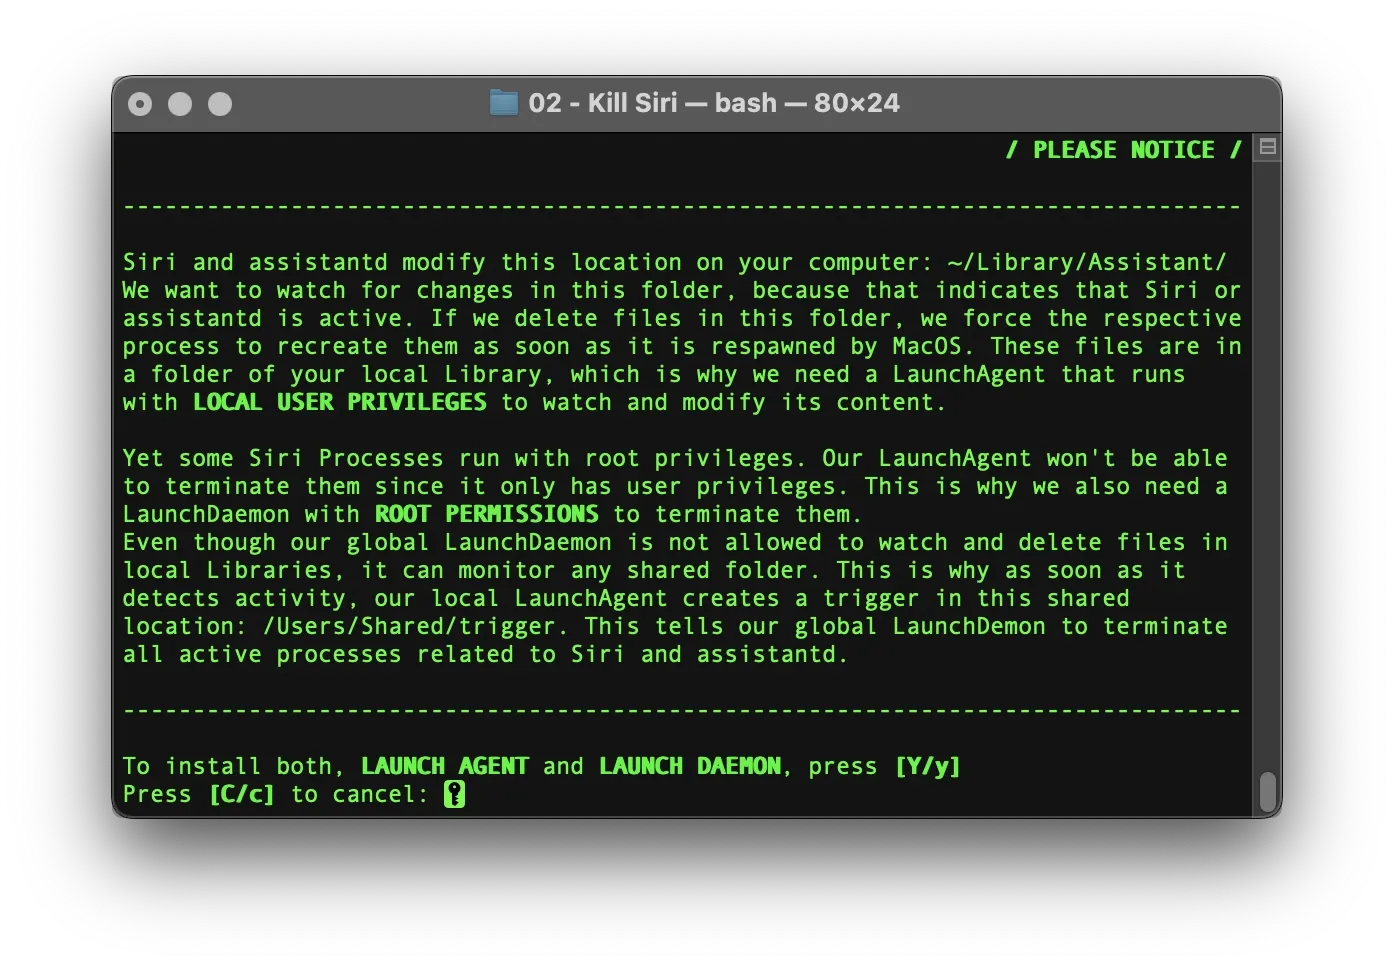
PREVIEW:
Our main repository on Codeberg:

Github Mirror: